Simulated Cellshading Tutorial
Simulated shading is a method to create a regular image into manga/comic illustration style. This method is best used for converting regular 3D rendered image into cellshading.
Softwares needed:
- Any 3D renderer.
- Adobe PhotoShop CS2 or newer.
First Part: 3D render
Image to process must have these requirements:
- Lighting source as less as possible.
- Do not render shadow.
- Set lighting moderately, a little darker gamma would be better.
- Render size must 2x larger than desired size. For example if the desired image size is 800x800, render it in 1600x1600 dimension.
Render the image as usual, save it into .psd, .png or .bmp format for optimal result. Do not save as .jpg or other loosy compression format.
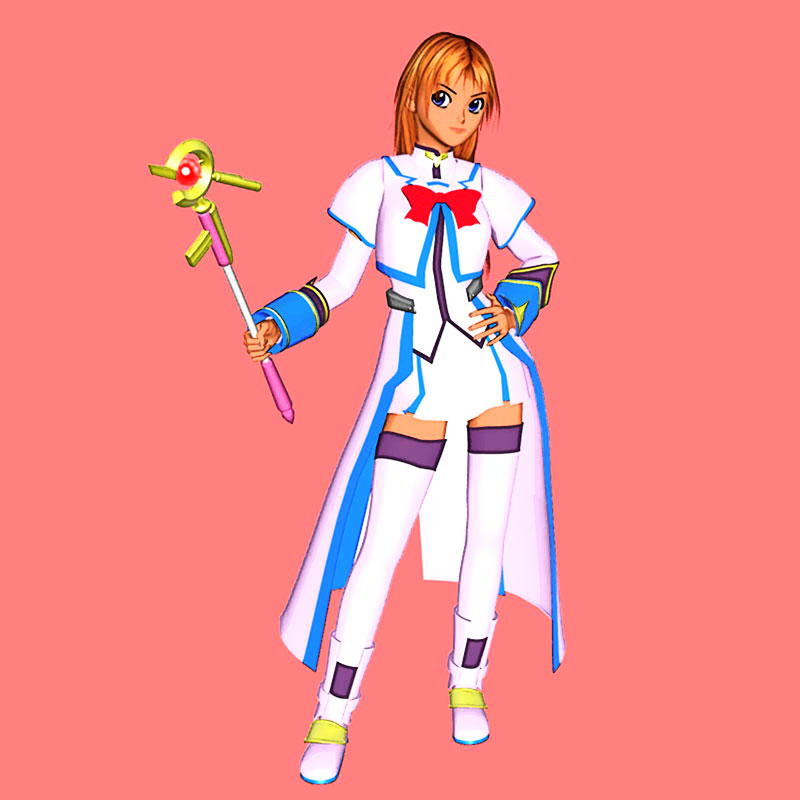
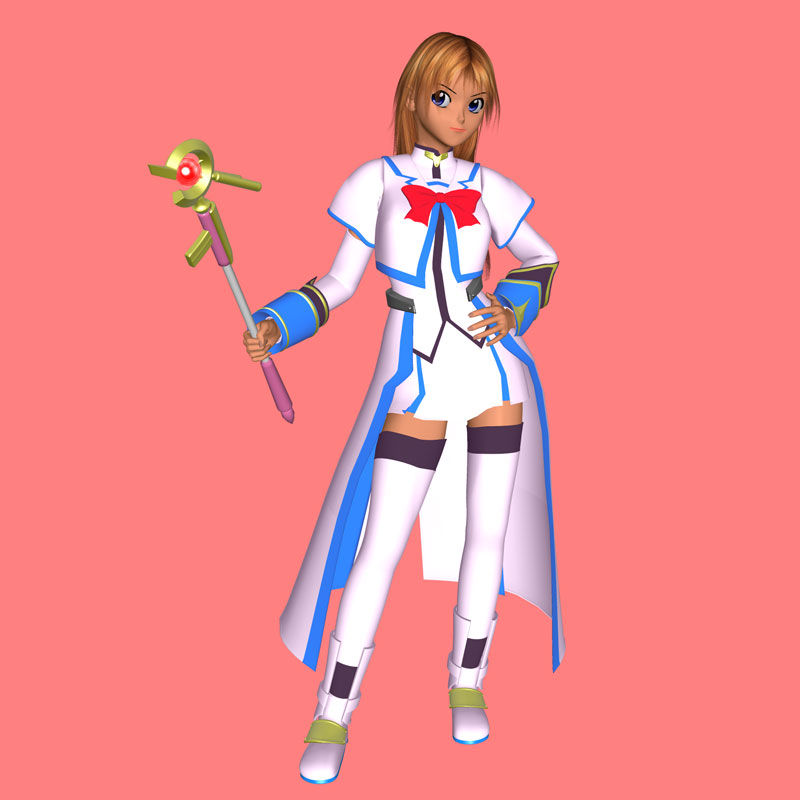
Example of the render result:
Second part: postwork & image processing
- Load the image in Photoshop, adjust canvas size as desired.
- Duplicate the layer twice, name them "base shader" and "lineart" respectively, or whatever you like. Make sure "lineart" layer on top of "base shader".
- Apply filter Texture>Grain on "base shader" layer, set option as follow:
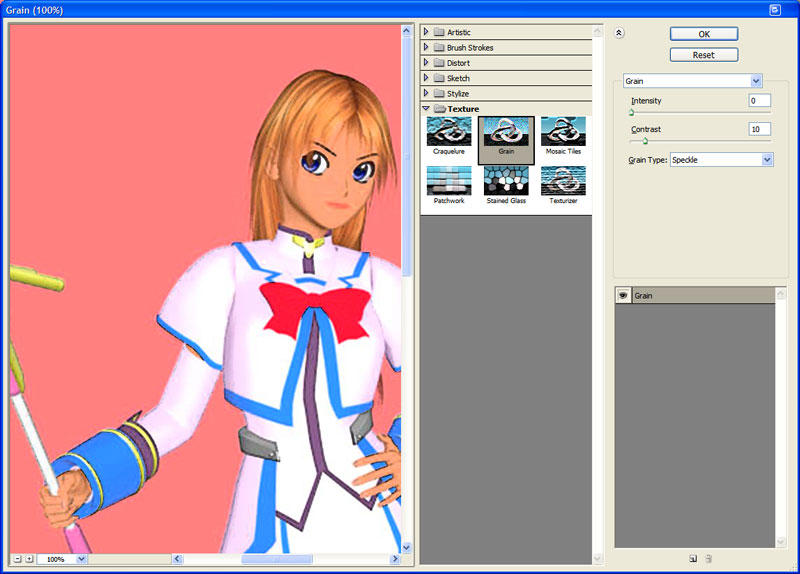
Intensity: 0, Contrast: 10, Grain Type: Speckle
The result is like this: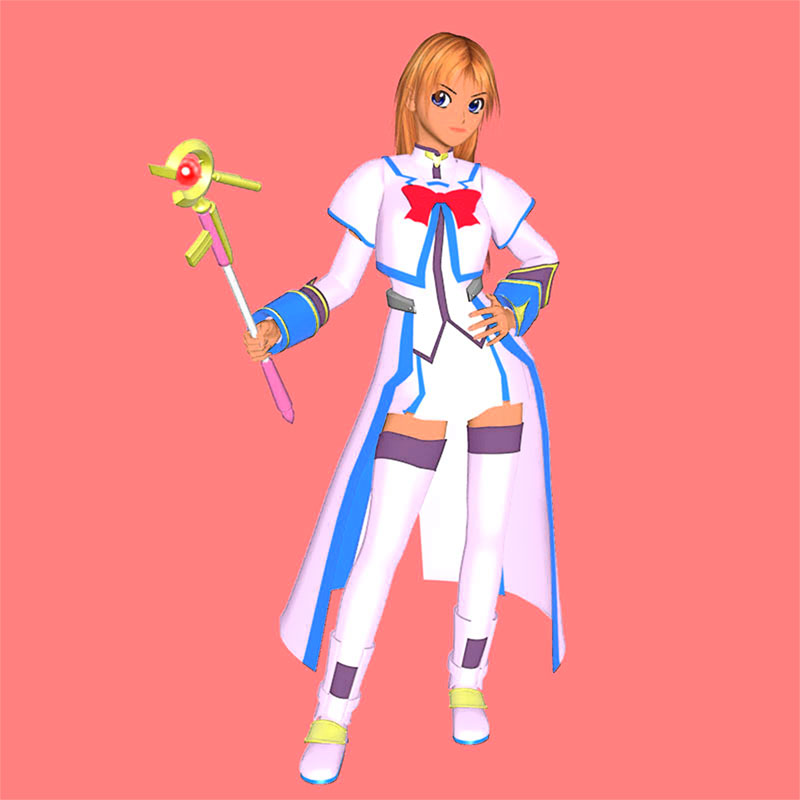
Set layer blending to Normal. - Apply filter Artistic>Poster Edge on "lineart" layer with following settings:
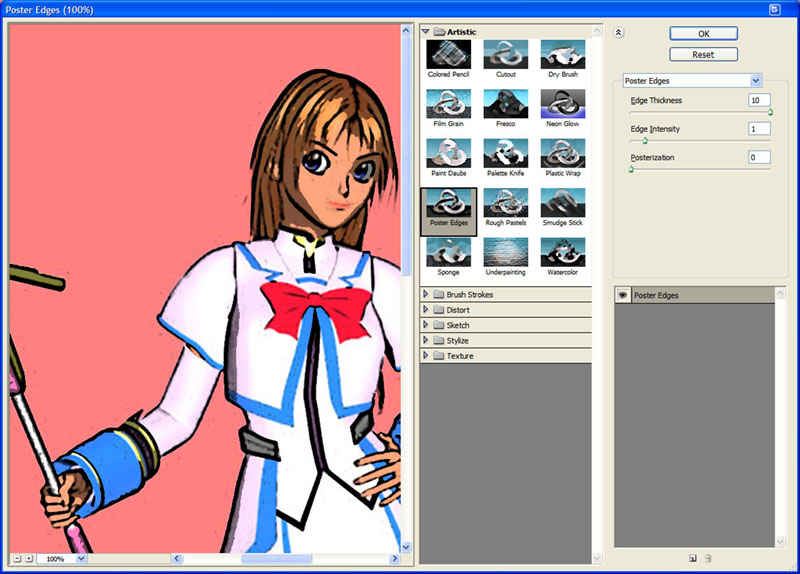
Edge Thickness: 10, Edge Intensity: 1, Posterization: 0
The result is like this: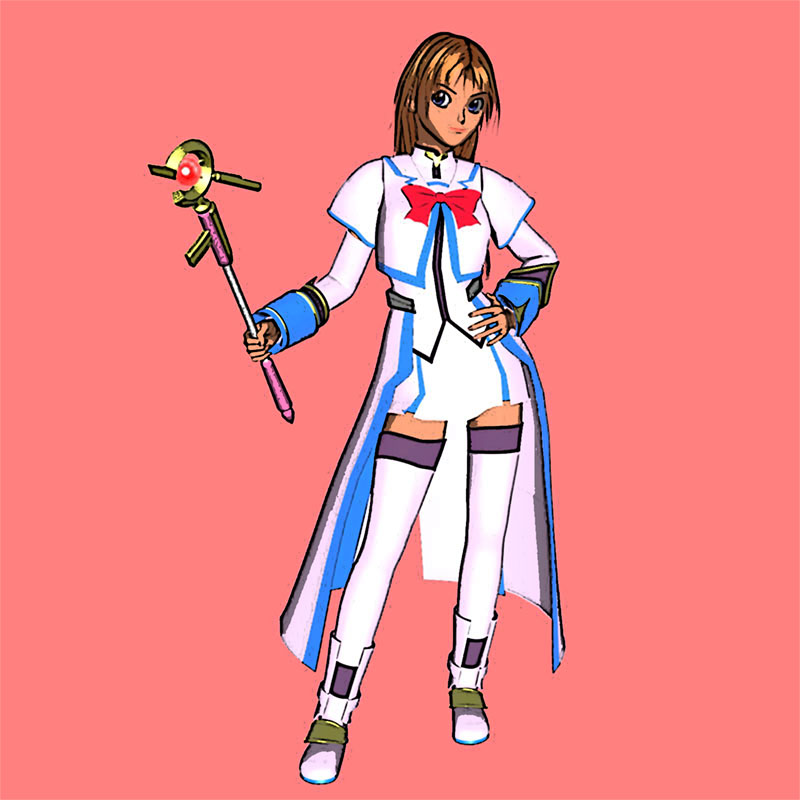
Set layer blending to Soft Light. - Reduce image size to 50%, those aliasing lineart will be smoothed automatically as if anti-aliasing process. Adjust level of each layer as desired.
- Last step is to edit the image as desired, like shadow, effect etc.
Result
The final result will be like this: